
Bike Blending: How many crew? How much ingredients? How many bikes?

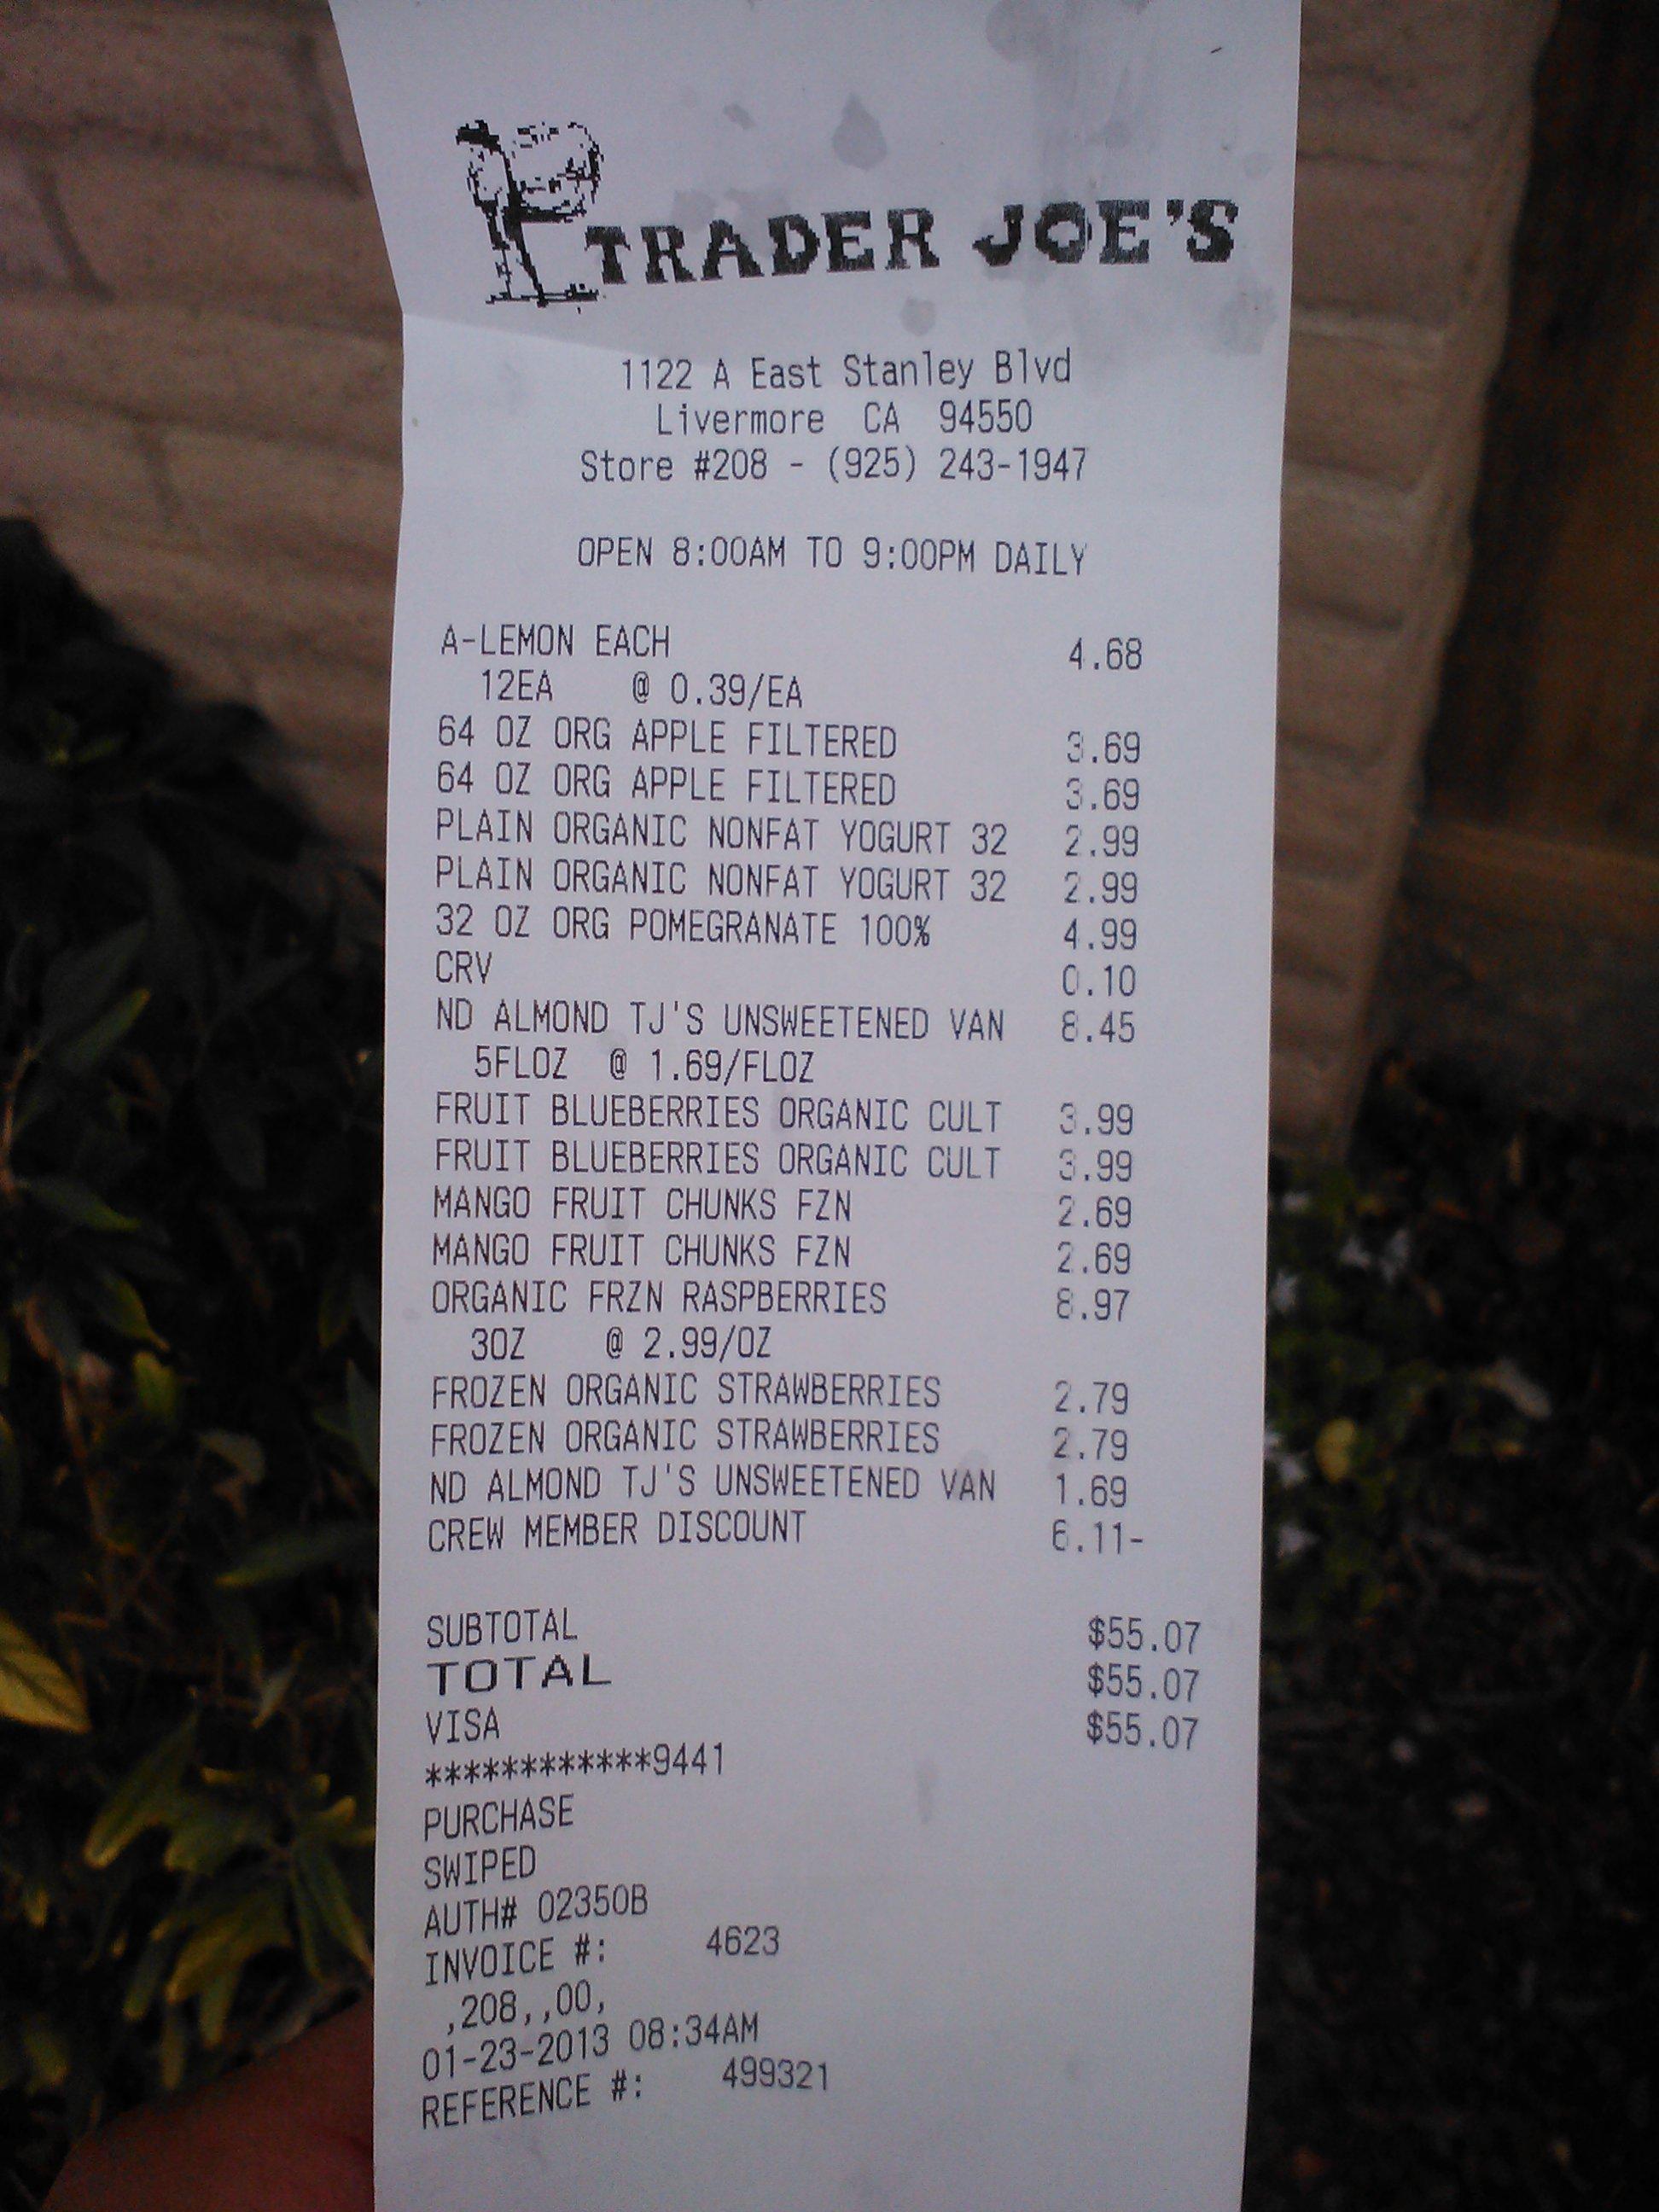
Here’s a copy of a recent receipt from Trader Joe’s for a Bike Blending event that served 100 people.
To serve the most people in the least time, here are the factors to consider:
– Ingredients. This is the easiest. Ingredients cost $0.60 per 8 oz smoothie. Scale this to meet your crowd needs.
– Crewmembers. This helps you prepare the pitchers of ingredients faster. 1 person per bike for a relaxed event (100-200 servings). 3 crewmembers per bike if you think you’ll be slammed (300 – 500 servings).
– Number of Fender Blender bikes. Increase the number of bikes to maximize your participation levels when maximum crowd flow is expected. Each bike can do 100- 250 8 oz smoothies per hour, depending on the number of crewmembers.
– Type of pitcher: See the Osterizer v. High Performance comparison. It’s easier to serve large crowds with a high performance blender.
– Number of pitchers. Two pitchers are incredibly useful. Make double the same amount of time by prepping a second batch while blending the first. If you foresee having vegan/dairy-free smoothies you might want a pitcher just for those.
Read MoreIs my Fender Blender compatible with the Spin Art attachment?

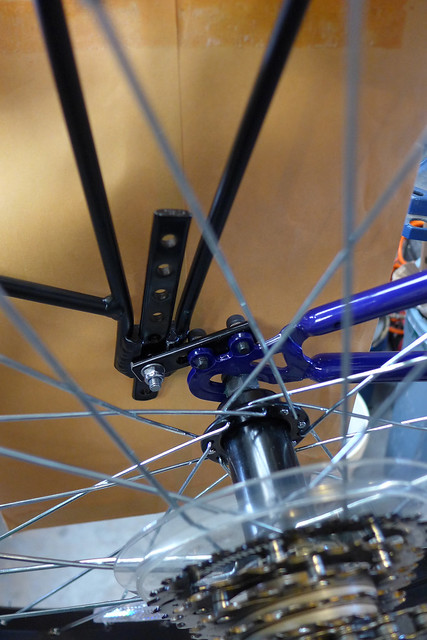
Pedal Powered Spin Art is compatible with all models of Fender Blenders: Pro, Universale and Xtracycle.
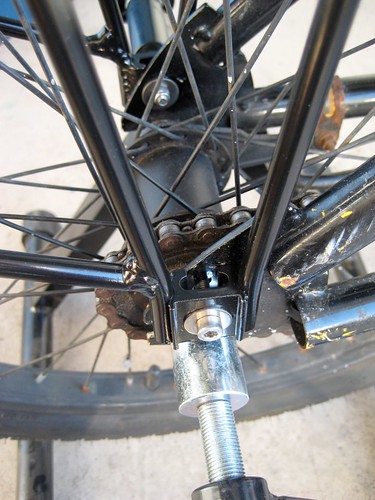
If your Fender Blender was purchased before 2011 chances are you will need a new spindle. The photo shows the proper spindle:

If your not sure send a picture of your spindle to customerservice@rockthebike.com
Read MoreTech tips for installing a FBU (Fender Blender Universale) on a 20″ Bike for little kids


A 20″ bike is the smallest bike you can use with our FBU bike blender. This will allow you to get the youngest kids pedaling. The small size of the frame on 20″ bikes means that there may be some customization needed to install the rack at the correct height.
Tip 1: Do not use the extension pieces.
The directions in our owner’s manual say not to use the flat brackets, shown below, which provide multiple holes for achieving the correct height on larger frames.

Instead, use the bottom hole on the FBU’s rack as shown above.
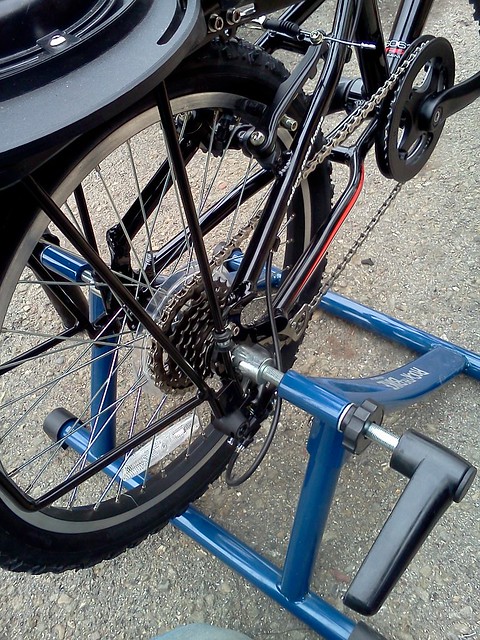
Tip 2. Use P-Clamps to achieve the correct height. Even if you follow Tip 1, you may not able to get the roller of the FBU to sit low enough to make good contact with the tire. Here’s a photo example:

On a good install, the surface of the rack should only be about 1-2″ from the spot on the tire where you want the roller to hit (the widest part). Note that in the photo above, the distance is about 3″ so the roller is making any contact with the widest part of the tire.
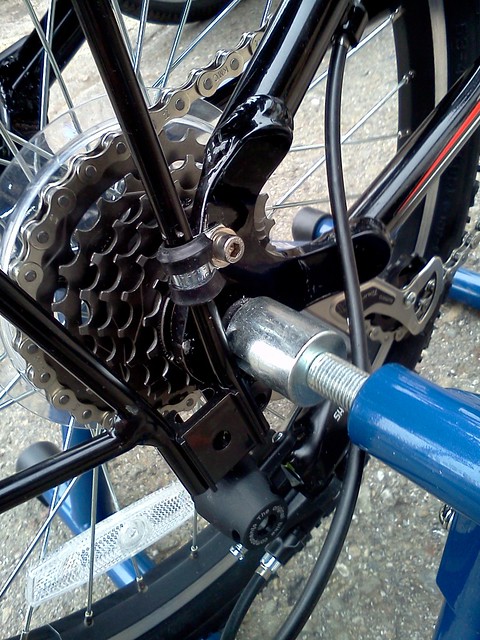
In this case, you must do the following workaround to get the rack to sit lower: Use P-Clamps to grab the strut of the rack. P-Clamps now come with every 20″ kit that we sell.
Take a look at the example of how to use them:
Here’s a closer look:
View the video directions to mount a bike in our stationary stand:
Basic questions to consider when crafting your Pedal Powered Stage

The technical needs of a Pedal Powered event vary greatly depending on audience size, venue, and power needs of musician’s devices. The questions in this post will help you to know what features are most important for you, and how much power you’ll really need. Please answer these questions and email us using the contact form. Also, please check out some of our recommended packages to see systems intended for different crowd sizes: https://oldsite.rockthebike.com/pedal-powered-stage-packages

Above: Shake Your Peace! performs during the Bay Rising Tour on their Pedal Powered Stage crafted by Rock the Bike.
- In your mind’s eye, how many people are taking in the music at your ideal event? Audience size is the most important factor in knowing how many loudspeakers, generators, and circuitry to get. Are you aiming for school assemblies? Street performing? A festival stage?
- Who is pedaling to generate power at your events? Is it competitive cyclists? fit adults? the general public? teenagers? kids? How family friendly are your events? Doing events with kids means you’ll need more bikes! The reason: Kids love to pedal but can’t generate much power. Also, they need to use bikes that are sized accordingly. If you want to do these events, you need to plan ahead so kids can participate.
- What style of music do you want to amplify? Or do you have a specific band your are planning to work with? Are you a bandleader? If so, what is the instrumentation in your band?
- Indoor vs. Outdoor? In your mind’s eye, where are your Pedal Powered events taking place?
- Do you want or need to be completely off the grid? Off The Grid means that you are completely independent and not relying on power from any other source. Some people just want to demonstrate Pedal Power, but are doing so in places where there ready access to wall power. Perhaps they don’t mind using some wall power and some bike power. This can be a way to decrease the number of bikes in your system, but still offer people the chance to create power with their bodies. For example, if you want a Bike Powered Cinema, you could power the loudspeakers with bikes and the projector with wall power. Other people want to make a statement by using NO power from the grid, or they are trying to bring a concert to a natural setting or park where there is no built-in power at all. They’ll need to be completely off the grid. What is right for you?
- Related. What is your main motivation for doing Pedal Powered events in your community? Examples: Have fun, get involved in music events, raise environmental consciousness/bike excitement, encourage healthy lifestyles, publicize a commercial offering. It helps us to know why our customers are interested in Pedal Power, and it may affect our gear recommendations.
- Are you planning to bike it there? Biking it there requires more crew, gear, and experience than loading a truck, but can be enormously gratifying. Check out these photos to see if this inspires you: http://www.flickr.com/photos/rockthebike/sets/72157622547485971/
- Will you be doing nighttime events?
- Do you already have a crew? Are you interested in leading a crew? Doing larger events with the general public requires a crew, including specific roles like Sound Guy, Roadie, Coach, Tech, MC and more.
Read More
What do I need for a successful Spin Art Station?

Paper. Paper sized 8.5″ x 11″, 5.5″ x 8″, or 5″ x 7″ works best. For extra branding use paper with the company letter head, or you can place a stamp or sticker with your logo / brand on plain white paper. Save money and the environment by recycling old office paper (one-sided printing only), just be sure not to include any papers with confidential information you wouldn’t want shared. Our favorite paper is 32 lb. Presentation Paper; it’s thicker and can hold up against large quantities of paint, doesn’t curl when wet, and dries in 5 minutes! We’ve noticed that the longer it takes to dry, the less likely your artists will remember to pick it up.

Paint & Bottles. Tempera paint works best. We recommend thinning it down with some extra water, about 50/50. The water helps the paint move across the spinning paper, and increases the volume of paint you have. Some kids pour a little too much paint, so this will help! We also recommend using small squirt bottles–this will limit the amount of paint your artists can use and keep your supply in stock during the event. You can also vary your ratio of paint to water to get cool effects.


Somewhere To Dry. After the art is done you will want somewhere to let it dry. A designated table for drying art works, but outdoors it could get blown around. For outdoor drying we recommend string and clothespin. Art should take 5 – 15 minutes to dry, depending on the amount of paint used, the type of paper used, and how much air is blowing on it.

A Helping Hand. Having a ‘grown up’ or two at your spin art station is best. Some children have never seen a spin art machine, so you’ll have to explain to them how it works, or guide them not to use all the colors (unless they want it brown). This person will need to write names on paper before making artwork, take the paint-covered artwork off and place to dry, refill paint bottles, and get spectators to help pedal. Since everyone wants to watch, the hardest task for this person will be keeping everyone in line. For this, we recommend writing names on individual papers (used for their art) and keeping the papers in line. Please scroll down to read tips on coaching Pedal Powered Spin Art.

Above: Spin Art Station at Pedalfest in Jack London Square
Coaching Spin Art is an important task for the individual working your Spin Art Station. This is how RTB does it:
1. Person approaches the bike, intrigued. Offer them a chance to make some spin art–they’ll say yes 99% of the time.
2. Ask the child to pick 3 colors. If an adult, they can use more colors because they understand moderation.
3. Write their name on the paper and put it onto the spin art platter, securing it with the elastic bands.
4. Ask the parent or a friend if they want to pedal. If no one wants to, jump on the bike and star step 6.
5. Coach the pedaler. They don’t need to pedal at a superfast speed, which they’ll want to do. They just need to keep the pedals spinning, slow and steady. I recommend they envision they’re cruising on a beach, not winning the Tour de France.
6. Once the paper goes from looking rectangular to circular, they an begin. I typically give kids a thumbs up when ready.
7. Individual makes spin art. If a youngster is dumping globs of paint, show them how to squeeze lightly or say, “okay…one more color…” I have them give me a thumbs up when they’re done making their masterpiece.
8. Either stop pedaling, or ask the pedaler to stop. Use the handbrake to stop the spinning platter.
9. Remove artwork, hang to dry, and tell artist to return in 5 – 10 minutes to collect their art.
10. Repeat until no more paint, paper, or people! Each person takes about 1 minute to complete a piece.

Have fun, and be sure to save leftover spin art forgotten at your booth; you never know what project may come up where you’ll need some original artwork…
Read MoreWhat are the elements of a Pedal Powered Stage?

Pedal Power Generators:
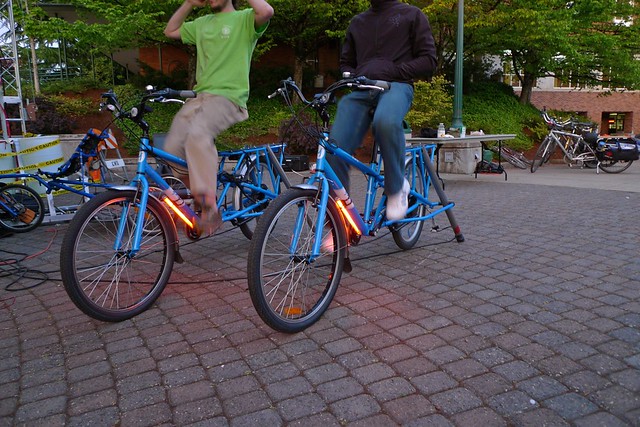
Above, two Mundo 500 generators in use at the Eugene Bicycle Music Festival. The rear wheel is elevated off the ground so that you can pedal in place and generate power.
You will need enough bicycle generators that the pedaling effort per person is approx. 50-75 Watts. Based on our experience at events, 50-75 Watts is the amount that an average audience member can continuously provide. You should also have ‘ringer pedalers’ in your crew. Ringer pedalers are strong racer or everyday commuting cyclists who can contribute up to 4 times more than an average pedaler. Whether you’re relying on ringers or the GP (General Public), you’ll need to provide enough bikes that the effort can be shared.
| Number of Pedalers | Estimated Crowd Size Possible in an Outdoor Location |
| 1 | 200-500 (with One Bike / One Speaker) |
| 4 | 500 |
| 8 | 500-1000 |
| 12 | 1000-2000 |
| 20 | 2000+ We haven’t had enough chances to test at these power levels. |
