How to Design and Submit your Custom Branding Artwork
Designing your artwork gives you complete creative control. Below we show your graphic designer how to submit your custom artwork for Wheel branding, Pro Frame branding, Spin Art drum branding, and Recharge Desk branding. If you need the template to complete your art please email us at customerservice@rockthebike
All wheel and drum branding artwork must be received print ready – 300dpi in PDF or TIFF file format – at least 3 weeks from your shipping deadline (as listed on your estimate/invoice). If artwork is not print-ready there could be a delay in production which could impact shipping and receiving deadlines.
All frame and Recharge Desk branding artwork must be received as a vector file – .ai or .eps file format – at least 3 weeks from your shipping deadline (as listed on your estimate invoice). If artwork is too small to print there could be a delay in production which could impact shipping and receiving deadlines.
Submit to customerservice@rockthebike
Avoid delays by reading more information below.
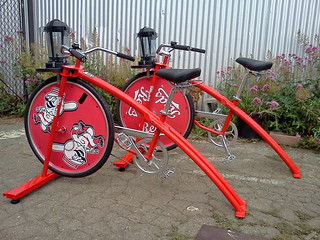
Wheel Branding
How to Use the Template:
Wheel Branding template download
1. Open the Template in Adobe Illustrator in Photoshop. It will appear like this:

2. Design your wheel cover in the Artwork layer’s safe area. When adding images to the template, please use Illustrator .Ai or EPS files. Alternatively, High Resolution (300 dpi) TIFF, PSD, JPEG or PNG files can be used. Design Tip: Spirals, swirls, polka dots, and other cyclical shapes look cool when the blender is spinning a smoothie.
The Print Guides layer will help you establish where your bleed area is so you can ensure your artwork will print perfectly. Please note the wheel cover may shift slightly when applying your artwork, so be sure to continue any artwork into the bleed space for a seamless outcome.

3. Once you feel good about your artwork make the Print Guides layer invisible and the Print Preview later visible. This will allow you to see how your artwork will look once printed and make any final changes.

4. Once you’re feeling good about the artwork please make all layers invisible except Artwork, and Background if you didn’t create your own in your Artwork layer. Save your print-ready art (without Print Guides or Print Preview) as a Press Quality PDF to submit.
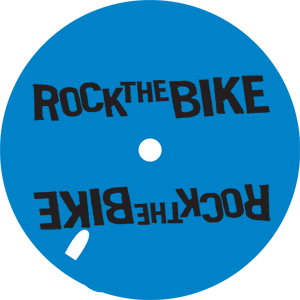
The example below (not to scale) is a good demonstration of what Rock the Bike calls ‘print-ready art‘. Note there are no holes (valve or center) showing and the bleed lines have been removed in the artwork.
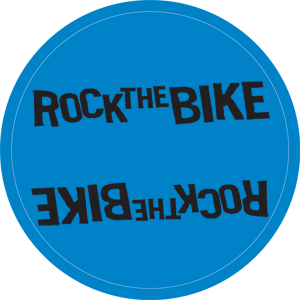
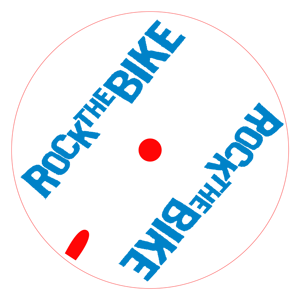
Here are a few examples of artwork that is not print-ready (contain holes, bleed line, etc.):
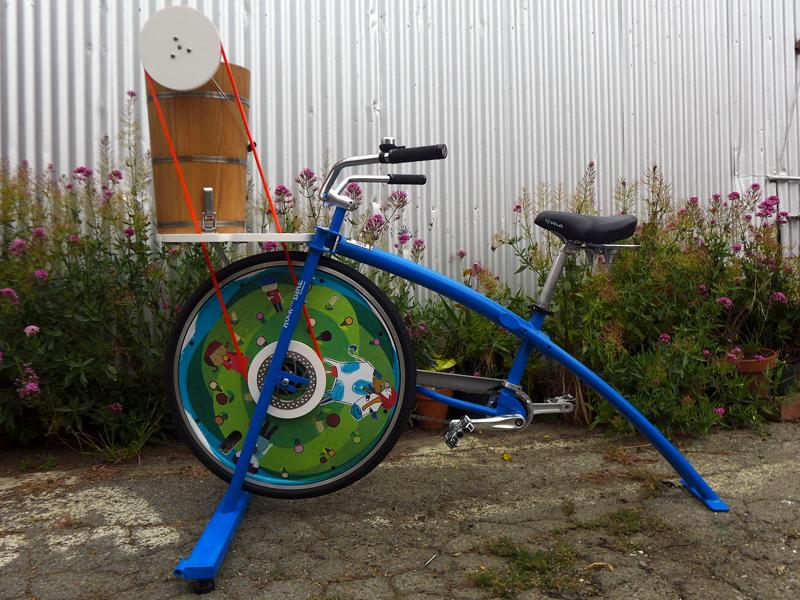
If you’re creating artwork for the Ice Cream Bike: Please note that the non-drive side has the pulley on it, so there is an 8″ diameter circle that wouldn’t be seen around the center of one side. It’s best to focus more of your artwork toward the outside of the wheel rather than the center (see below, not to scale).

Pro Frame Branding
To make your frame branding artwork we need an illustrator vector file (.ai) or even an .EPS file. The available space is 13″ wide by 2″ tall; long, horizontal logos print much better for this format. No template necessary.
Please note that the die cut machine cannot work with text smaller than 1/4″ in height (when the file is sized to no more than 13″ wide or 2″ tall).
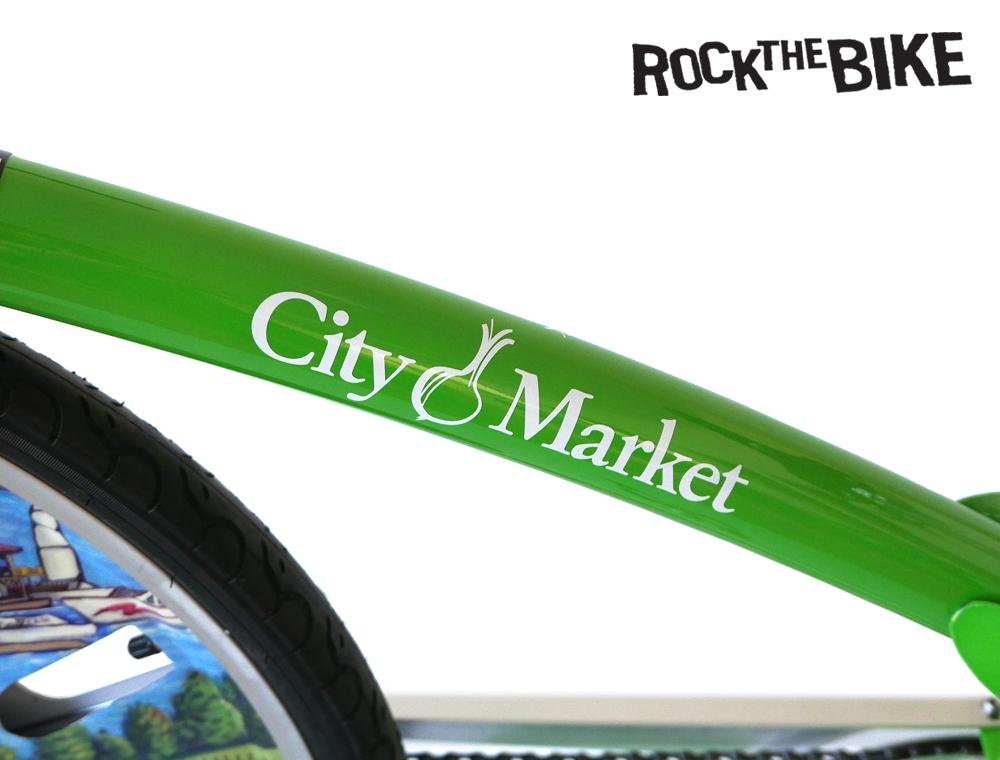
If your bike is custom colored white we can apply a colored version of your logo on the frame (see below).

For bike colors other than white we will need to see your logo/ frame branding design before we can confirm. Sometimes we can build colors on colors (see below).

Spin Art Drum Branding
You’ll see both Margins and Bleed on the Spin Art drum. Anything included in the Margin area will be covered.
Spin Art Drum Branding template download
Below is an example of what your end result should look like (not to scale):

And this is what it looks like printed and installed:

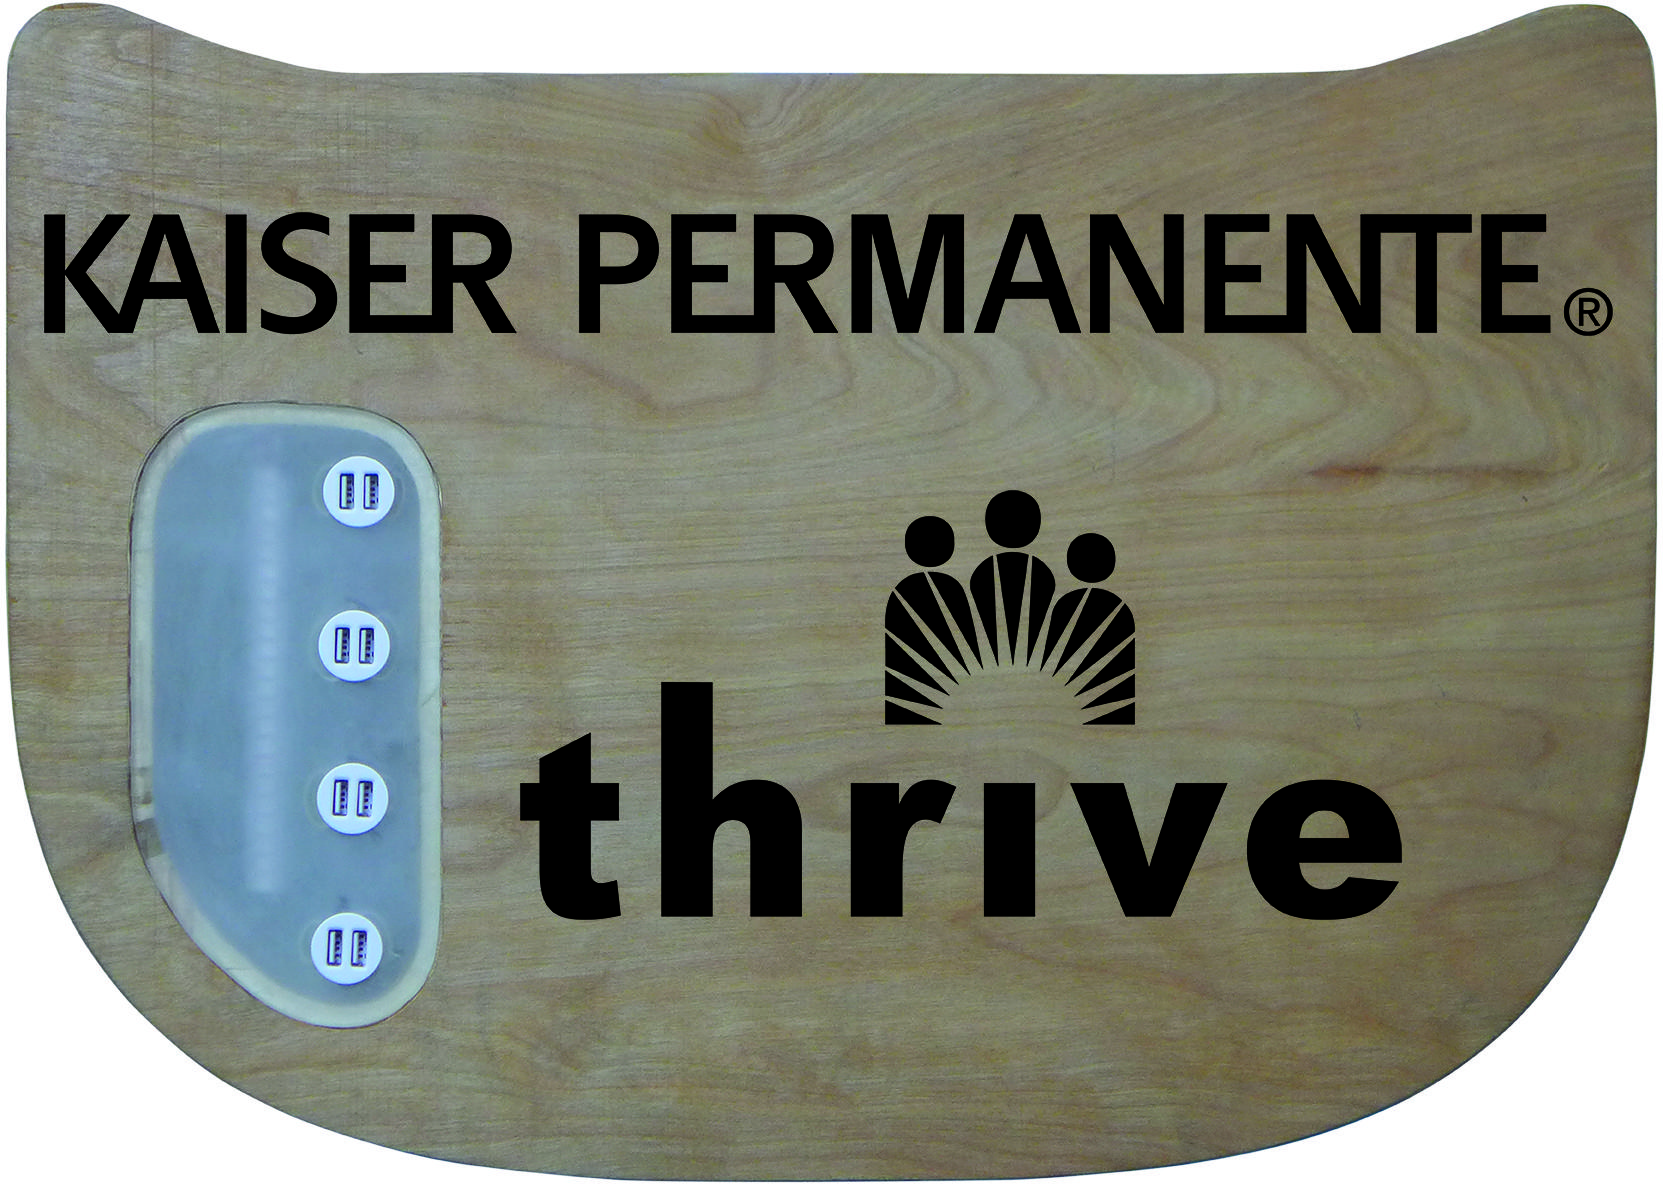
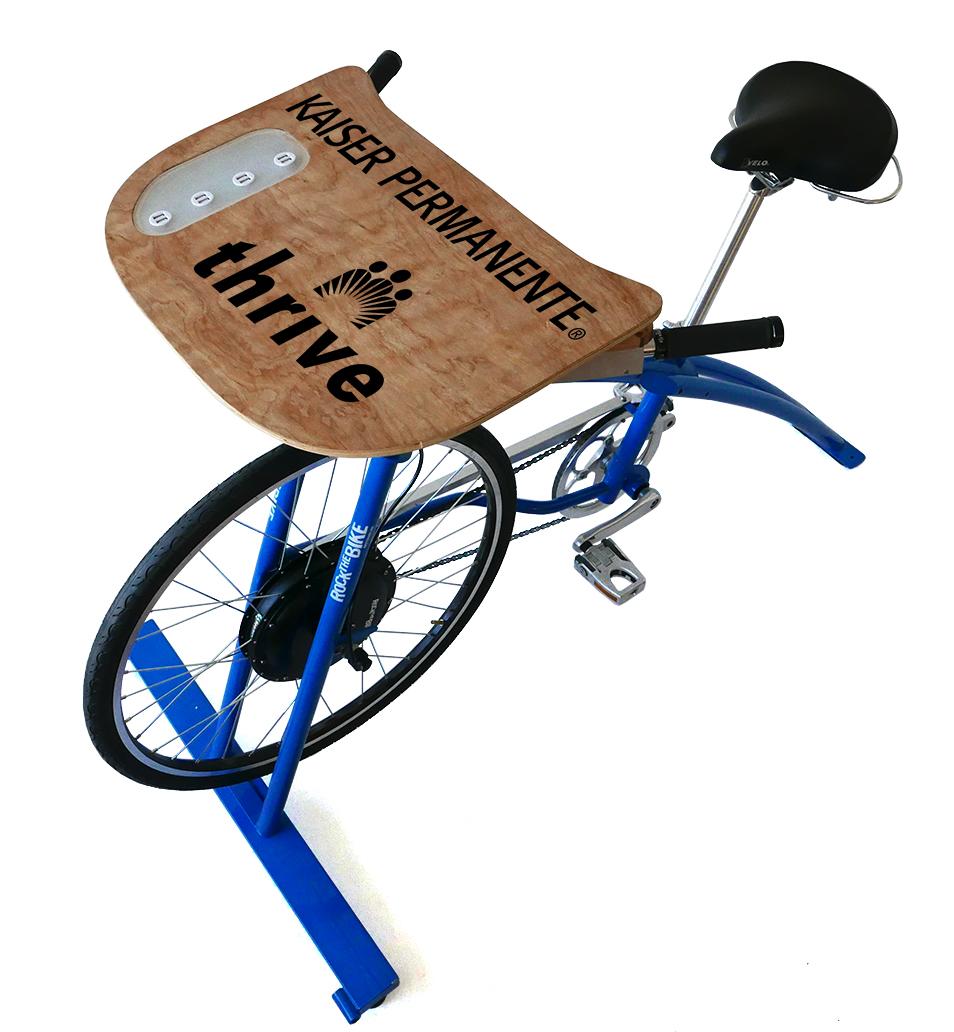
Recharge Station Branding
To make your desk artwork we need illustrator vector files (.ai) or .EPS files of the artwork, or logos.
Recharge Branding template download
To show us how you want these logos installed it’s best if you also provide us with an example of how you want the artwork installed using our Recharge Station installation guide. Please make all artwork to-scale in the guide, or explicitly write the desired distance from edge, or other items.